Setup StoryMap Js to use Gigapixel Image
The following will give detailed instructions on how to setup your gigapixel image for use in StoryMap js. The use of the gigapixel in storymap js allows the user to take any high resolution image and use it as a background image to tell your story. When we say high resolution, we typically mean a minimum of 5000 pixels on either the width and the height. Below are the steps taken to achieve this. The steps below also use free open source tools.
- Download, export, find or acquire an image that has a high resolution.
- On your computer, find the GIMP application. If you don’t have GIMP, visit the GIMP website for downloading and installation instructions.
- Once installed/found, open GIMP.
- Click on File > Open… and navigate to your image to open in GIMP.
- Once the image is open, click on Image > Image Properties We’re looking at a minimum 5000 pixels on either the width and the height. The higher the resolution, the better!!
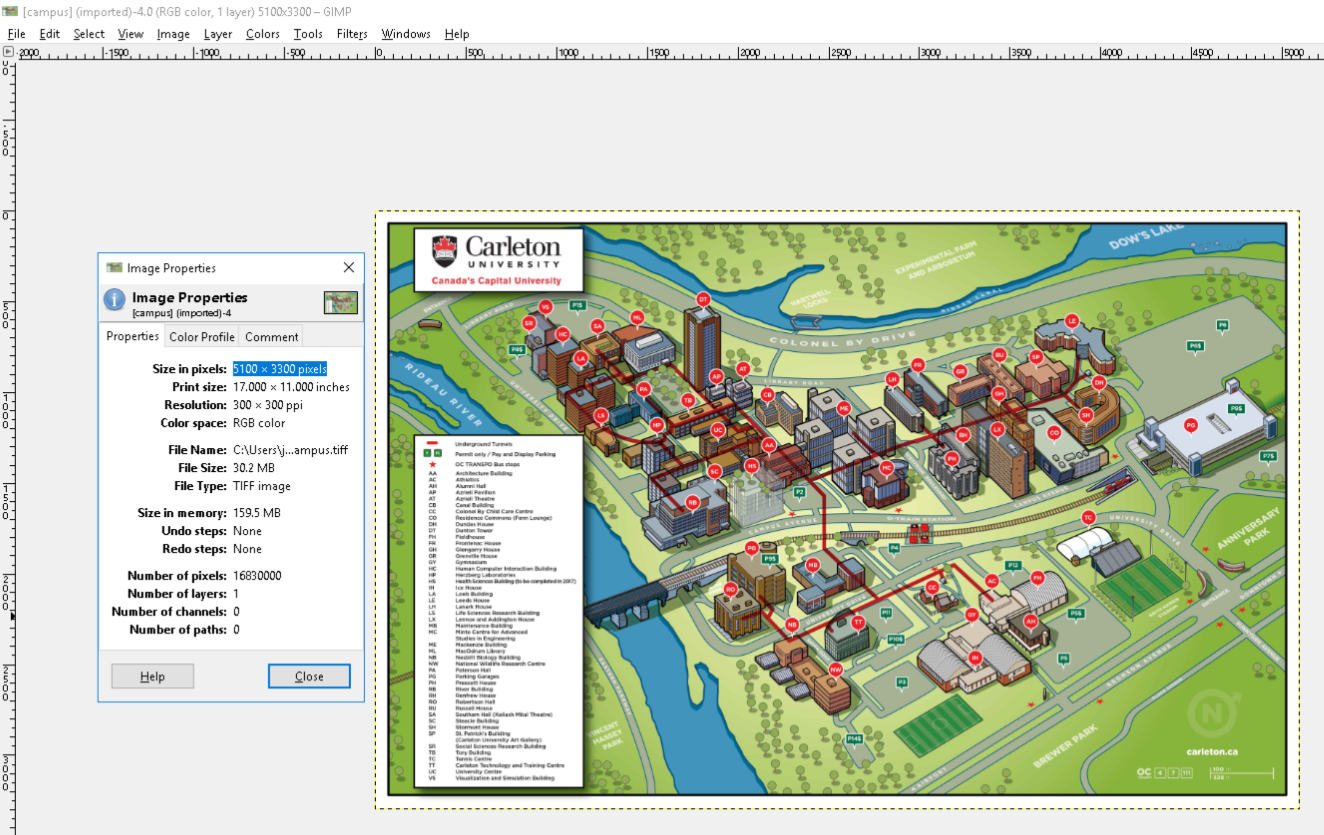
- Write down the Image Resolution. In this case, it’s 5100 x 3300 pixels
Now that we have our image resolution, we’ll need to create tiles at various zoom levels from this large image, so that it loads faster in StoryMap js. This is the same method that is used in Google Maps. In this example, we’ll use zoomify to create these images.
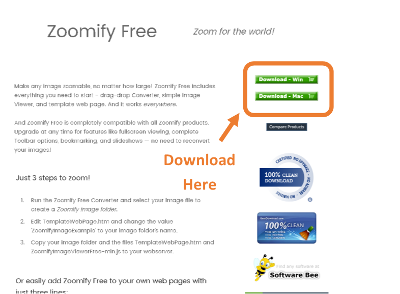
- Go to the Free Zoomify Website to download the application.
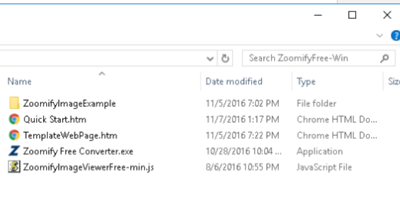
- Once downloaded, unzip/extract the file. The contents should look like this.
-
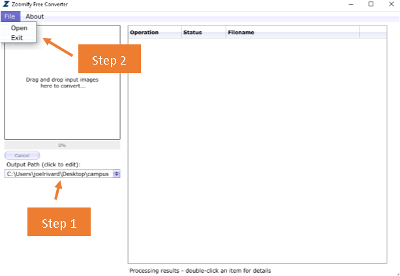
Double click on the Zoomify Free Converter.exe. This should take you through the process of creating zoomify images from your gigapixel image. This is done in two steps.
a. Set the output directory of the files. This will create hundreds of small files.
b. Open the high resolution image. Once you open it, the zoomifying of the images will begin.
- Once complete (should take a maximum of a couple of minutes, depending on the file size of the original high resolution image). This is what the directory structure should look like. Again, depending on the size of your original high resolution image, you could have additional folders.

-
Next step is to upload the contents within the folder to a web server. Make sure you copy both folders and the ImageProperties.xml in the folder. Find a webserver that you can have a URL to use for the StoryMap js application.
-
The last step is to setup StoryMap Js to use the gigapixel image as the base layer for your StoryMap.
-
Create a new StoryMap Js and in Options select the following settings in StoryMaps Js. Ensure you’ve got the following settings selected.
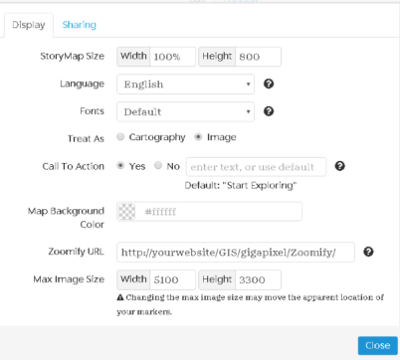
- That should be it! Your Gigapixel image should be the basemap of your storymap. You should be ready to create your story.
